The Steam Deck is a revelation for gamers: a handheld computer with all the power of a gaming PC. That said, most gamers will find its storage capacity lacking. The initial basic model offered only 64GB of eMMC storage. These days, the baseline Steam Deck has a capacity of 256GB with its NVMe PCIe 3.0 x4 SSD. Even the updated OLED units only offer 512GB or 1TB of storage. Modern games demand significant storage to run smoothly. Kingdom Come: Deliverance 2, released in February 2025, requires 100GB. That’s almost 40% of the standard model Steam Deck’s capacity!
Understandably, a common choice Steam Deck owners make is to replace their unit’s default SSD with something that offers more storage. It may seem like a daunting task if you’ve never opened up a computer before, but it’s actually fairly straightforward. This guide will take you from choosing a replacement SSD, to installing your favorite games on your newly juiced-up Steam Deck!
Pre-replacement
Before opening your Steam Deck for upgrades or repairs, it's important to consider backing up your data to prevent the loss of games, saved progress, or personal settings. While some game data may be automatically saved through Steam, this does not include non-Steam games, emulators, or custom configurations. To ensure nothing is lost, you can either manually copy your important files to a microSD card, external storage device, or a secure online location, or create a full backup of your internal drive using cloning software such as Clonezilla or Balena Etcher. Always confirm that your backup is complete and accessible before making any changes to the hardware.
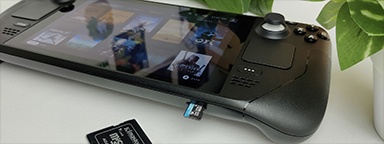
Obviously, anyone intending to open the case of their Steam Deck should first refer to device manual and follow standard safety procedures for electrostatic discharge. It’s a good idea to discharge the battery to under 25% of its capacity before starting the process. In addition, Valve recommends going into Steam Deck’s BIOS to put it in battery storage mode. Power down your Steam Deck and unplug any cables. You’ll also need to remove any microSD cards currently inserted.
Opening the Steam Deck

First thing you will need to do is use a Phillips-head screwdriver to remove the eight screws on the Steam Deck back cover. The screws closer to the center are shorter than the outside screws. Keep the types separate so that you don’t mix them up later and potentially damage the casing or innards with the wrong threaded screw.
With all the screws removed, you can unclip the back cover. You may need an opening pick. If you are finding it difficult, you might find it easier to start at the top or bottom edges. With the clips disconnected, the back cover should lift away easily.
The next step will vary depending on the model of Steam Deck you own. If you have one of the basic models, this step will be a little more complicated. Basic models have a metal motherboard shield that includes a piece of foil tape covering a hidden screw. You should do your best not to rip this tape. Instead, use tweezers or a similar tool to carefully peel back the tape so that it can be reused later. OLED Steam Decks don’t have this third screw and instead have a black plastic cover. Unscrew the motherboard shield screws (again, the basic model’s third screw has a different length thread to the others which should be kept separate), and then carefully remove the motherboard shield. You may find that it sticks to the thermal pads underneath it.
Replacing the SSD
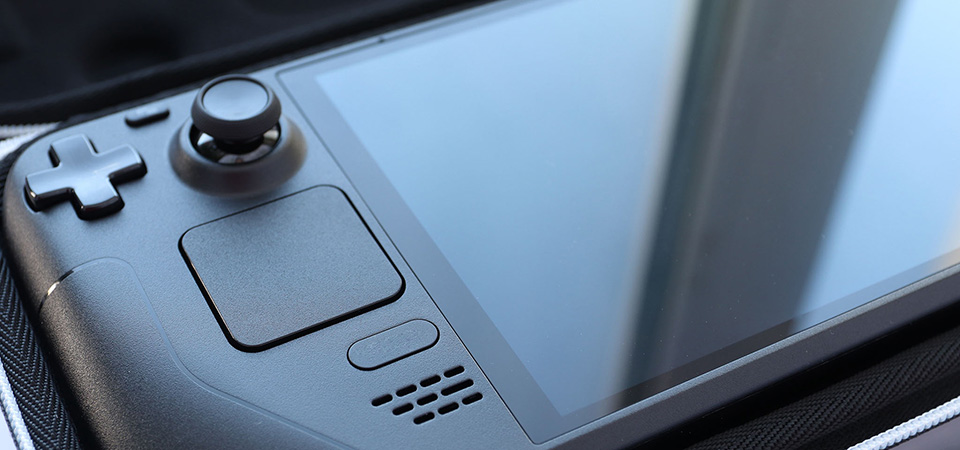
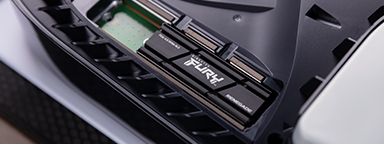
Now you can see the motherboard. Disconnect the battery first, carefully sliding its cord by the pull tab and pulling directly away from the motherboard. Now you can remove the SSD screw that secures the SSD. Once more, keep this screw in a safe place separate from the other screws. With this screw removed, the SSD will pop up a little. Grip it by the end and pull it out from its M.2 board connector to remove it. The SSD has ESD shielding which the replacement drive will need too. Slide the shielding off (again, you may find tweezers helpful for this delicate work).
Apply the shielding foil to the replacement SSD. It will need to be a snug fit for the drive to be correctly inserted. So long as your replacement drive is a compatible single-sided M.2 2230, like Kingston NV3 2230 PCIe 4.0 NVMe SSD, it should be a perfect fit (though bear in mind any newer drives will operate at the NVMe PCIe Gen 3 x4 speed supported by the Steam Deck). Fully insert the new drive into the SSD slot, gently press it down into place, and screw in the appropriate screw (it should be one of the very shortest, a 3.8mm screw).
Reassembling the Steam Deck
This process, as you might imagine, is simply opening it in reverse. Gently insert the battery cord tab to reattach the battery. Put the motherboard shield back in place. There are small tabs that need to fit for the shield to be flat. Screw your screws back into place, making sure you’re using the right length for each. If your model of Steam Deck has it, flatten out the foil tape over the third screw. Reattach the Steam Deck’s back plate, which should snap into place ready for the screws. Again, remember that the smaller screws go on the inside, the larger ones around the perimeter.
Preparing your SSD
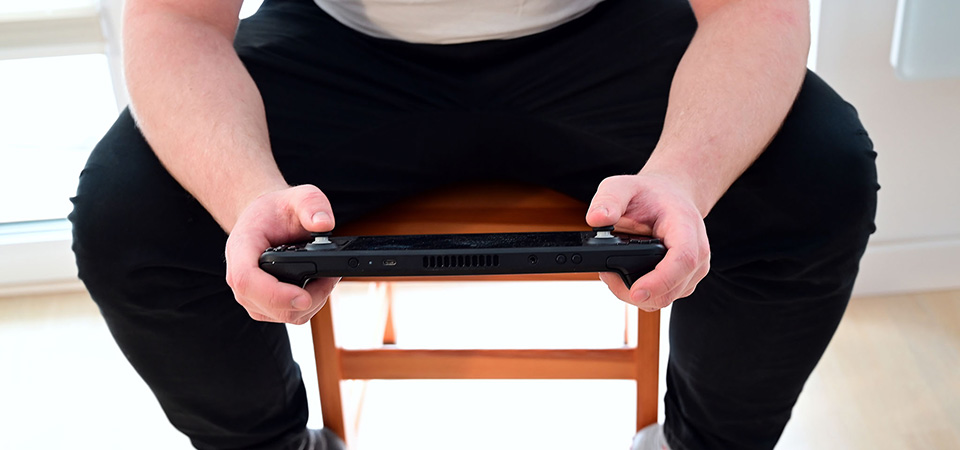
Now you’ve done the difficult part! The next step is installing SteamOS on your replacement drive. You’ll need another computer besides your Steam Deck, a flash drive with over 8GB capacity, a USB-A to USB-C converter, and a wired keyboard.
Download the Steam Deck OS from Valve’s website. Also download the appropriate writing software for your computer’s OS, then write the OS to the flash drive. Plug your flash drive into your Steam Deck, using the converter if necessary.
Start your Steam Deck holding the button to lower volume as well as the power button. If it works, you’ll hear a chime. Assuming the boot drive has functioned as intended, you’ll next need to plug the keyboard in, so that you can choose to boot. This process takes a while, and you should be prepared to wait as much as half an hour per stage without seeing any obvious signs of progress. If you suspect that the process has stalled, you can reboot to Boot Manager and attempt it again.
In the desktop OS that eventually loads, you’ll have four options. Select ‘Re-image Steam Deck’ to install the Steam OS on the new SSD. Again, this process will take quite a while.
After the installation is complete, turn off your Steam Deck, then turn it on again. It may take much longer than normal, but when it boots it will automatically load into Steam. Your work is done! Now all you need to do is re-download and install your favorite games.


